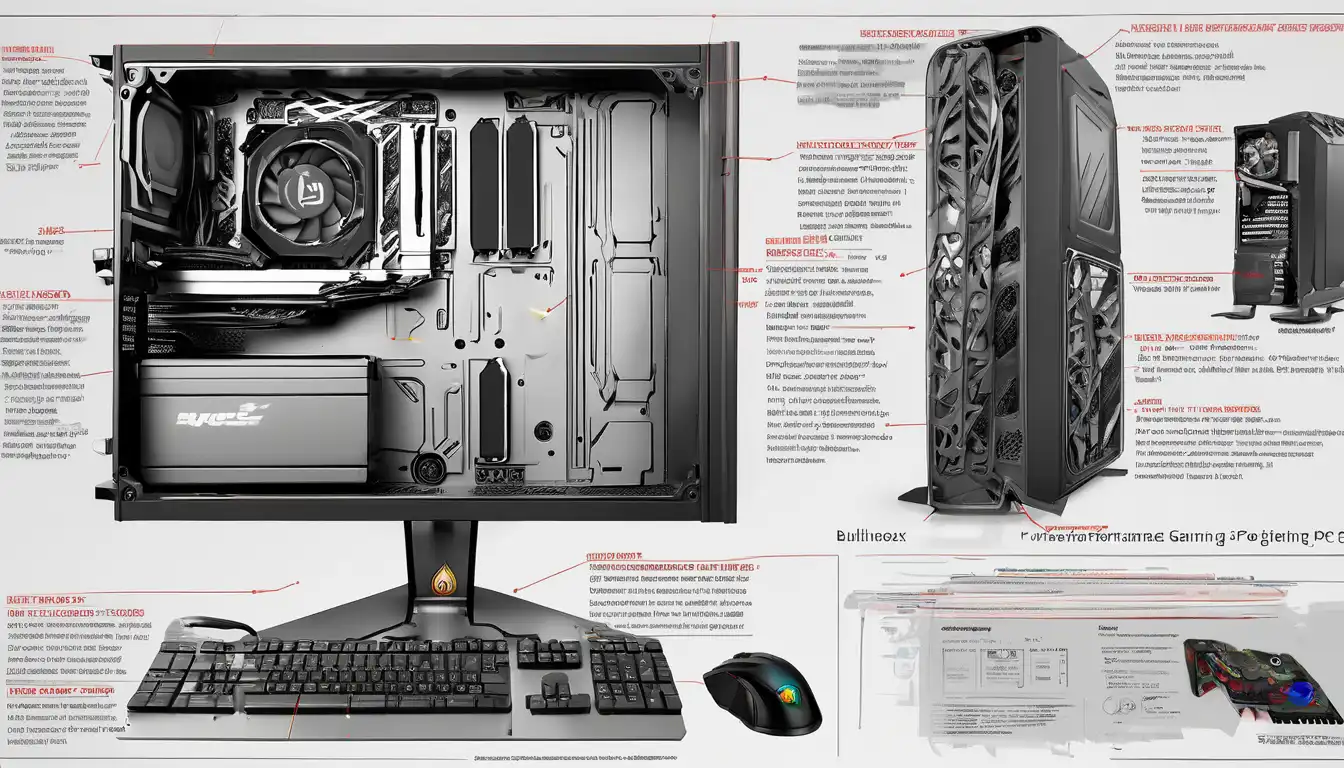
Introduction to High-Performance Gaming PC Assembly
Building a high-performance gaming PC is an exciting journey that combines technical knowledge with creative expression. Whether you're a seasoned gamer looking to upgrade or a newcomer entering the world of PC gaming, assembling your own system offers unparalleled customization and value. This comprehensive guide will walk you through every step of creating a powerful gaming rig that delivers exceptional performance for years to come.
Essential Components for Your Gaming PC
Understanding the core components is crucial before beginning your build. Each part plays a vital role in determining your system's overall performance and capabilities.
Central Processing Unit (CPU)
The CPU serves as the brain of your gaming PC, handling all computational tasks. For gaming purposes, both Intel and AMD offer excellent options. Consider factors like core count, clock speed, and thermal design power when selecting your processor. High-end gaming typically benefits from processors with higher single-core performance.
Graphics Processing Unit (GPU)
Your graphics card is arguably the most important component for gaming performance. Modern GPUs from NVIDIA and AMD deliver stunning visual fidelity and high frame rates. When choosing a GPU, consider your target resolution (1080p, 1440p, or 4K) and refresh rate requirements.
Motherboard Selection
The motherboard acts as the foundation that connects all your components. Ensure compatibility with your chosen CPU socket type and consider features like PCIe slots, RAM capacity, and connectivity options. For more information on motherboard compatibility, check our motherboard compatibility guide.
Memory (RAM)
Random Access Memory directly impacts gaming performance and multitasking capabilities. Most modern games perform optimally with 16GB of DDR4 or DDR5 RAM, though 32GB provides future-proofing for demanding titles and streaming.
Storage Solutions
Combining SSD and HDD storage offers the best balance of speed and capacity. NVMe SSDs provide lightning-fast load times, while traditional hard drives offer affordable mass storage for your game library.
Power Supply Unit (PSU)
Never compromise on your power supply quality. Choose a PSU with sufficient wattage for your components and opt for 80 Plus Bronze certification or higher for efficiency and reliability.
Step-by-Step Assembly Process
Follow these detailed steps to ensure a smooth and successful build process.
Preparation and Workspace Setup
Begin by gathering all necessary tools and components in a clean, static-free environment. Use an anti-static wrist strap to prevent damage to sensitive components. Lay out your motherboard manual and component boxes for easy reference.
Installing the CPU and Cooler
Carefully align the CPU with the socket, ensuring proper orientation. Apply thermal paste sparingly before mounting your CPU cooler. Whether using air cooling or liquid cooling, ensure secure mounting and proper contact with the CPU.
RAM Installation
Install your memory modules in the recommended slots according to your motherboard manual. Most motherboards utilize dual-channel configuration for optimal performance.
Motherboard Mounting
Secure the motherboard to your case using standoffs, ensuring no unnecessary pressure points. Connect front panel headers, USB ports, and audio connectors according to your motherboard's layout.
Storage and GPU Installation
Mount your storage drives in designated bays and connect necessary power and data cables. Install your graphics card in the primary PCIe x16 slot, securing it firmly to the case.
Cable Management
Proper cable management improves airflow and maintains a clean appearance. Route cables behind the motherboard tray when possible and use zip ties to secure loose wires.
Performance Optimization Techniques
After assembly, optimize your system for maximum gaming performance through these methods.
BIOS Configuration
Access your motherboard BIOS to enable XMP profiles for RAM, adjust fan curves, and ensure all components are recognized correctly. For advanced users, consider mild overclocking within safe temperature limits.
Driver Installation
Install latest drivers for your GPU, chipset, and other components from manufacturer websites. Regular driver updates often include performance improvements and bug fixes.
Operating System Optimization
Configure Windows or your preferred operating system for gaming performance by disabling unnecessary background processes and optimizing power settings.
Cooling and Thermal Management
Effective cooling is essential for maintaining performance and component longevity. Consider these cooling strategies for your gaming PC.
Airflow Configuration
Establish proper airflow with intake fans at the front/bottom and exhaust fans at the rear/top. Maintain positive air pressure to reduce dust accumulation.
Temperature Monitoring
Use software utilities to monitor component temperatures during gaming sessions. Ideal CPU temperatures should remain below 80°C under load, while GPUs can safely operate up to 85°C.
Advanced Cooling Solutions
For high-end systems, consider custom water cooling loops or all-in-one liquid coolers for superior thermal performance. Learn more about advanced cooling in our PC cooling solutions guide.
Future-Proofing Your Investment
Building with future upgrades in mind ensures your gaming PC remains relevant for years to come.
Component Upgrade Path
Select a motherboard with ample expansion slots and future CPU support. Choose a power supply with extra wattage headroom for future component additions.
Modular Design Considerations
Opt for a case with good cable management and room for additional cooling solutions. Modular power supplies simplify future upgrades and cable management.
Troubleshooting Common Issues
Even with careful planning, you may encounter issues during or after assembly.
Boot Problems
If your system fails to boot, check all power connections, RAM seating, and ensure the CPU is properly installed. Consult your motherboard manual for diagnostic LED indicators.
Performance Concerns
Unexpected performance issues may stem from driver conflicts, thermal throttling, or power limitations. Use benchmarking tools to identify bottlenecks.
Conclusion: Your Gaming Journey Begins
Building a high-performance gaming PC is a rewarding experience that provides both immediate satisfaction and long-term value. By carefully selecting components, following proper assembly procedures, and implementing optimization techniques, you'll create a system tailored to your gaming needs. Remember that PC building is an ongoing journey—regular maintenance and strategic upgrades will keep your system performing at its best. For additional building tips and component recommendations, explore our gaming PC resources section.
Whether you're chasing competitive frame rates in esports titles or immersing yourself in graphically intensive AAA games, your custom-built gaming PC will provide the performance and customization options that pre-built systems simply cannot match. Happy building!
